Understand NFT basics
Before you start minting digital assets, let us clarify what an NFT actually is. An NFT stands for Non-Fungible Token—something that is unique and cannot be replaced with an identical item. This uniqueness is stored on a blockchain, which acts as a public digital ledger that verifies ownership and provenance.
- NFTs can represent art, music, videos, game items, or even membership passes.
- Ownership data is transparent on a blockchain, ensuring everyone can see who owns a particular digital asset.
- When you mint an NFT, you cast your digital work into a one-of-a-kind token.
Creating and selling an NFT typically involves a small fee (often called a “gas fee”) to process the transaction on the blockchain. You may not always turn your NFT into “digital gold” overnight, as success depends on factors like marketing, community engagement, and quality of your artwork or collectibles. Still, you maintain creative control, and you decide how many NFT editions to release—some artists prefer a single '1-of-1' piece, while others mint multiple editions.
Set up a wallet
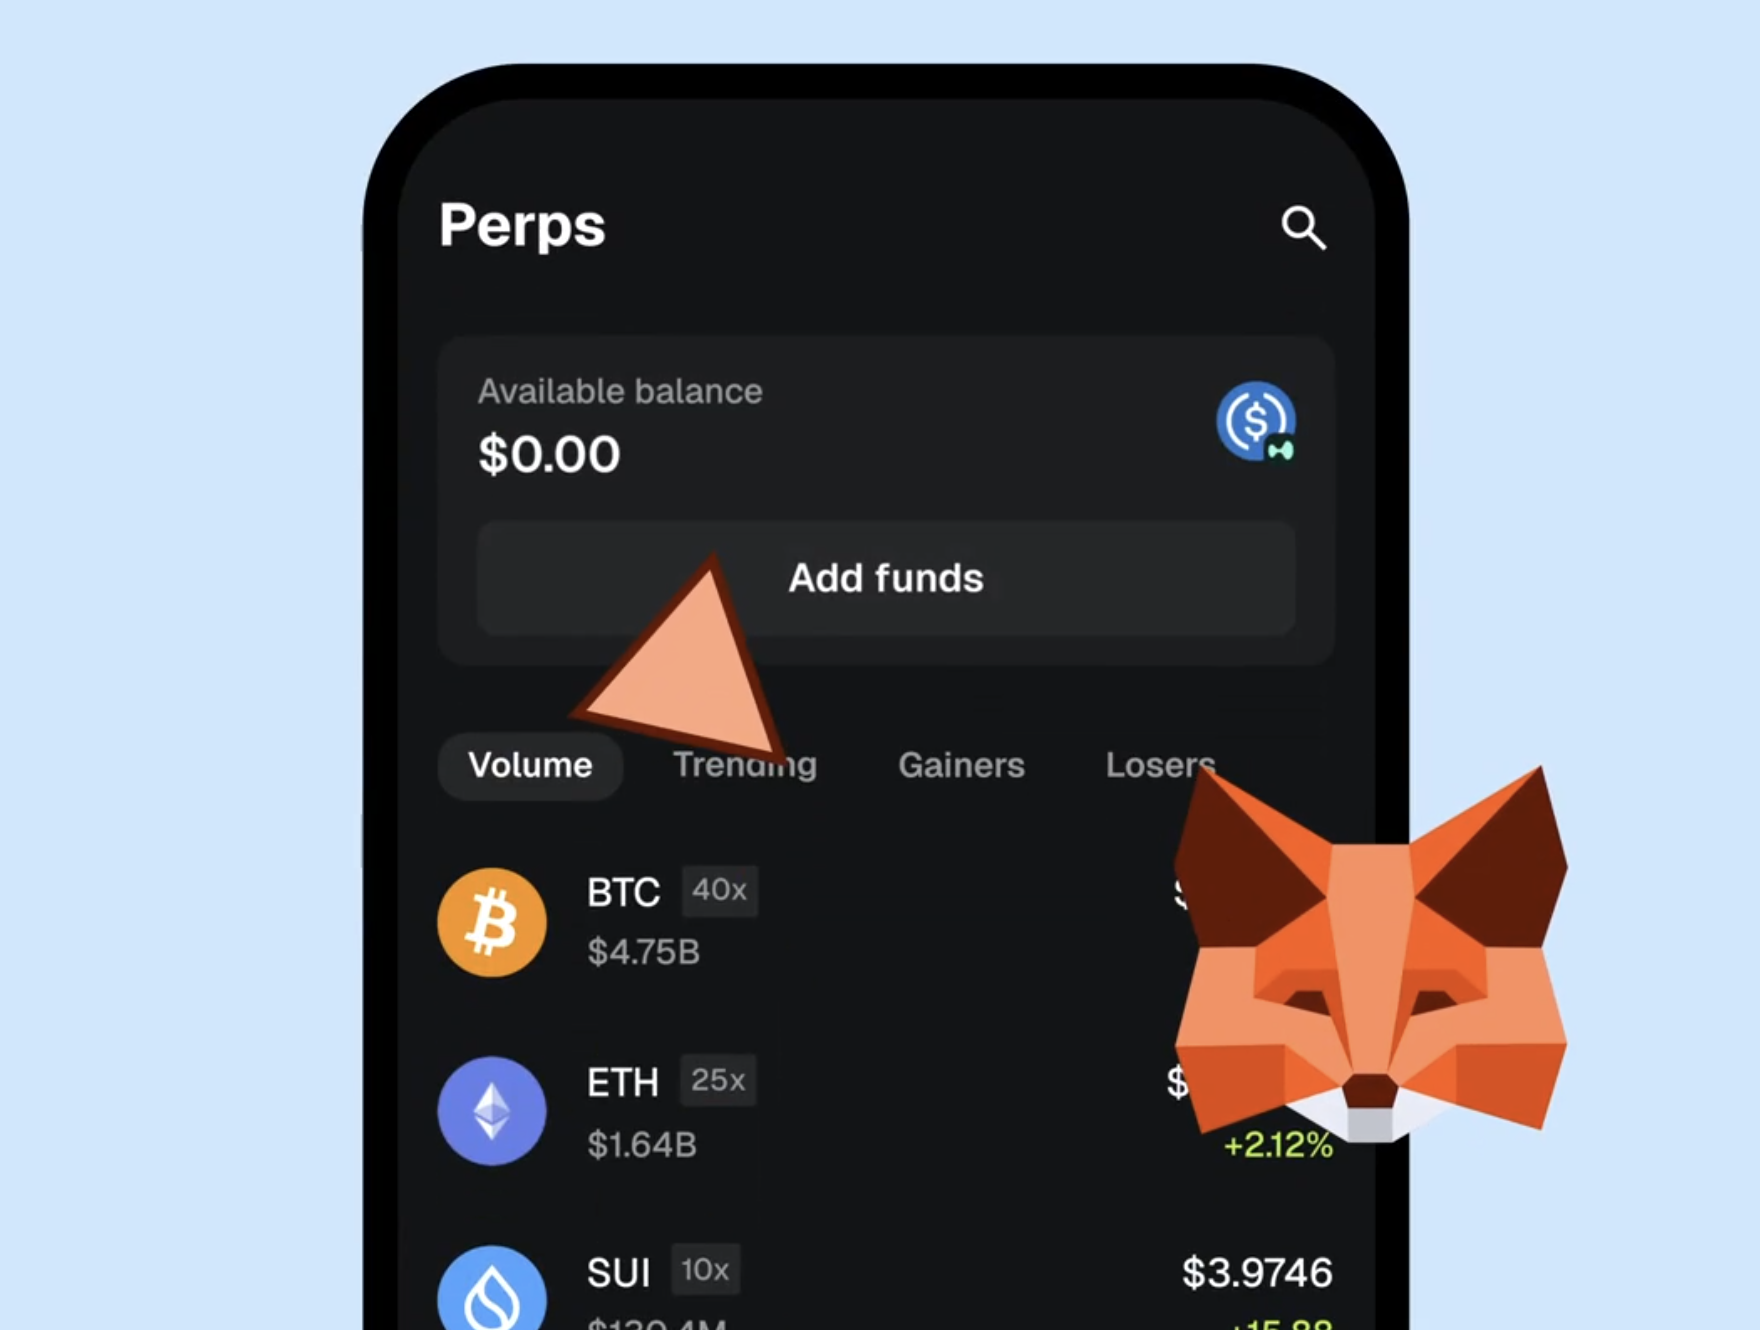
Wherever you choose to mint, you will need a crypto wallet to interact with NFT marketplaces. Think of your wallet as your digital bank account, but for crypto tokens and NFTs.
- Pick a trusted wallet. MetaMask is a popular browser extension wallet, while Coinbase Wallet also offers user-friendly features directly on your phone. You can download and install these wallets in a few clicks.
- Secure your seed phrase. When you create a wallet, you are given a set of 12–24 random words called a seed phrase. This is the key to your funds and must be kept very safe, ideally offline. Anyone with this phrase can access your wallet, so never share it.
- Confirm the network. Many wallets let you select different blockchains—Ethereum, Binance Smart Chain, Polygon, etc. For NFT creation, you will often use Ethereum by default, although cheaper alternatives exist.
Storing your NFTs in your wallet is straightforward once minted. You can also see them in your marketplace profile, which is often linked to the same wallet.
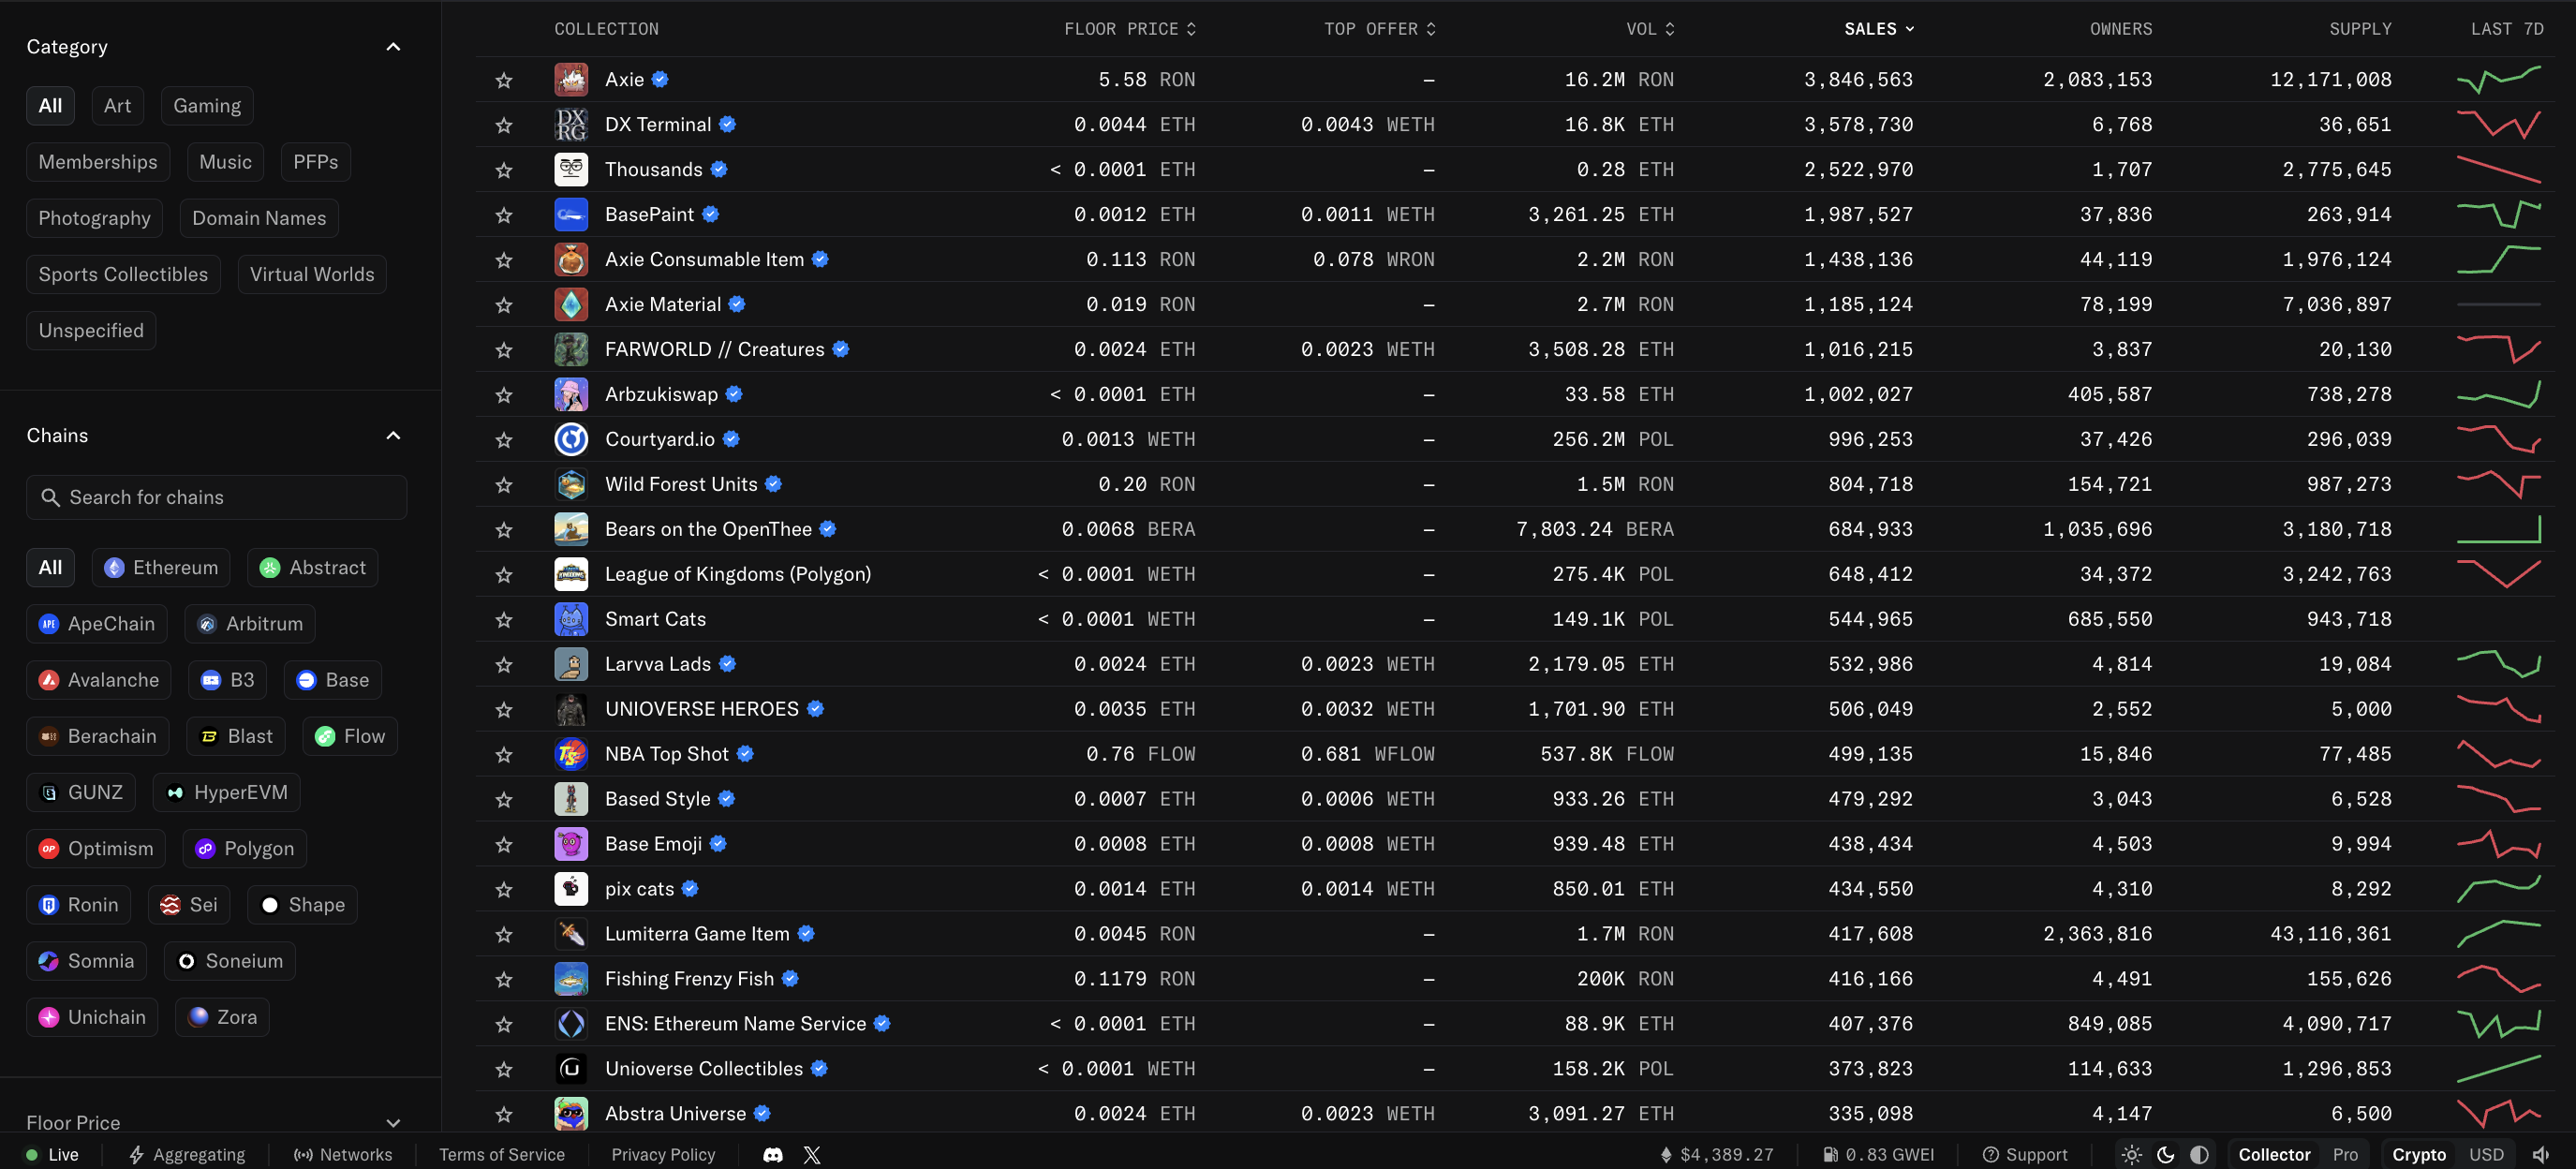
Pick a marketplace
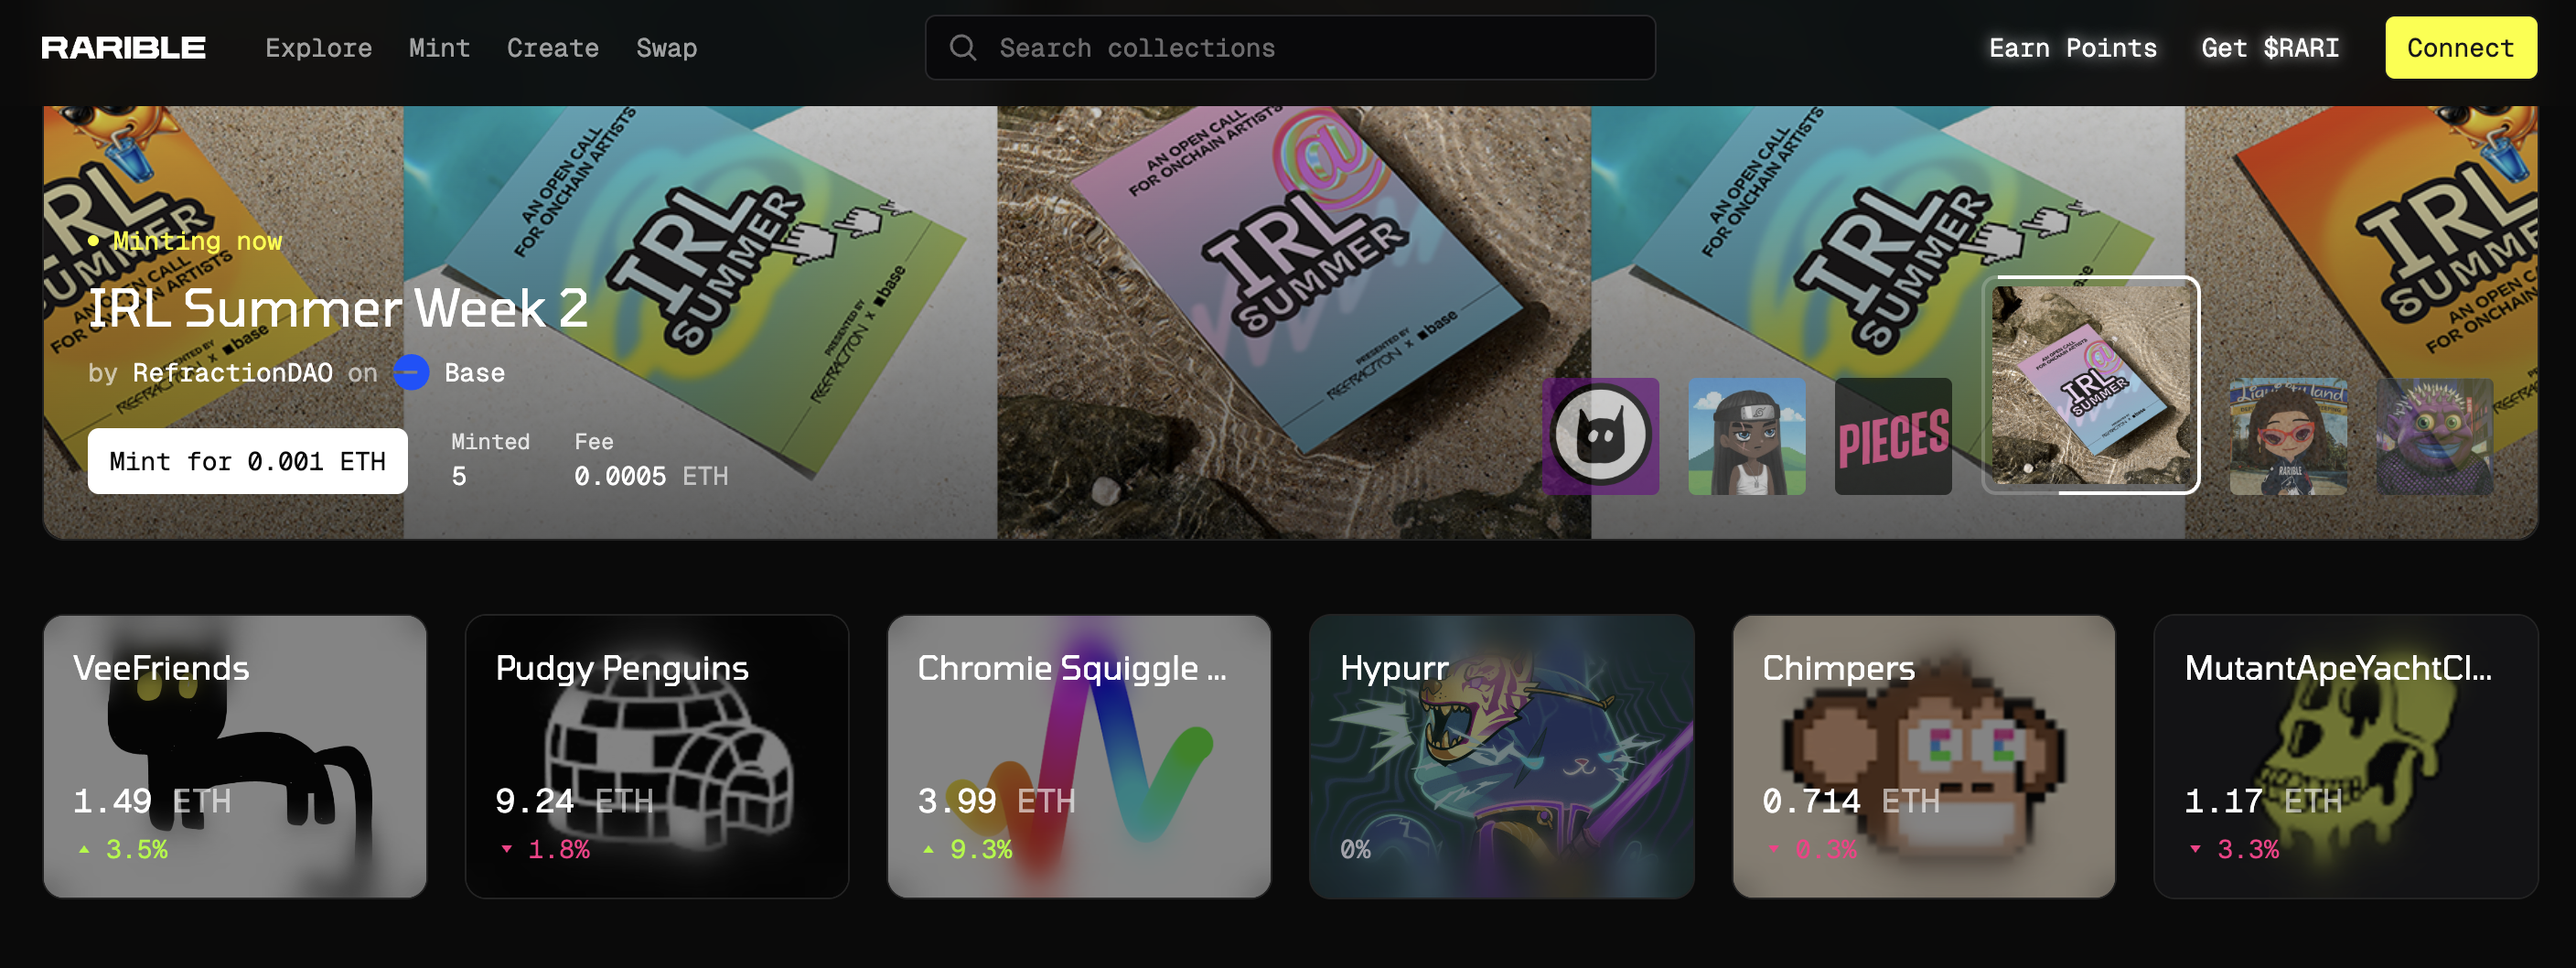
An NFT marketplace is where your digital art or collectibles go on display. Some top marketplaces include OpenSea, Rarible, Foundation, and Nifty Gateway.
- OpenSea: One of the largest marketplaces supporting multiple blockchains, from Ethereum to Polygon.
- Rarible: Known for user-friendly minting, community governance, and a broad selection of NFT categories.
- Foundation: Typically curated and invite-only, focusing on high-quality artworks.
If you are a beginner, you might choose a more accessible marketplace such as OpenSea or Rarible. They have fewer barriers to entry and are well known in the NFT community, giving you a better chance of discovering potential buyers. Each platform has its own user interface, but the overall steps for minting remain similar.
Choose your blockchain
The blockchain you select plays a major role in your NFT’s transaction fees, speed, and overall environmental impact. Ethereum is still the most widely used for NFTs, but it often has higher gas fees. Alternative blockchains like Polygon or Solana can offer lower fees and faster transaction times.
Deciding which one is right for you depends on a few factors:
- Transaction costs: Ethereum fees can spike during peak usage, while alternatives usually cost a fraction of that.
- Community size: Ethereum is the largest community, but blockchains like Solana or Tezos have strong niche followings.
- Eco-friendliness: Different blockchains use different consensus mechanisms. Ethereum’s Proof of Stake drastically reduces energy consumption, but other networks might do even better in terms of sustainability.
Remember, if you mint on one blockchain, you typically cannot just transfer your minted NFT to a different chain. Choose carefully before you create your NFT.
Obtain crypto funds
Once you have decided on a blockchain, you will most likely need to pay a small fee in that blockchain’s native cryptocurrency to finalize your NFT creation. For Ethereum, that means Ether (ETH). For Solana, that is SOL, and so on.
- Buy crypto: Purchase the required crypto on major exchanges such as Coinbase, Binance, or Kraken, then send it to your wallet.
- Swap tokens if needed: If you need to exchange between different crypto tokens, a service like Xgram might help. Xgram is a user-friendly crypto exchange where you can convert tokens quickly. It offers options to swap from one blockchain’s coin to another, potentially saving you time if you start with Bitcoin or a different cryptocurrency.
- Check gas fees: Gas fees sometimes fluctuate based on blockchain activity, so it helps to monitor the network for low usage times.
Although the process can seem daunting at first, you only need to do this step once per blockchain. Later, if you choose to mint more NFTs, you can use leftover crypto from your wallet’s balance.
Create your artwork
Now comes the fun part—shaping your creative vision. Your NFT can be anything from a simple digital drawing to an elaborate 3D animation or a music clip. Even domain names can be turned into NFTs.
- Format and size: Verify your chosen marketplace’s specifications for file size, format, or length (especially if it is a video or animation).
- Rarity and editions: Decide if you will create a unique one-of-a-kind item or multiple limited editions. Some artists release a series of NFTs under one cohesive style or theme.
- Metadata clarity: Prepare a title, description, and any special attributes or unlockable content. Unlockable content could be high-res downloads, bonus files, or an invitation to a private community.
If you do not think you are an “artist” in the traditional sense, you can still create NFT content. Photography, memes, or generative art scripts have all found success in the NFT sphere. Just ensure your creation is original and you have the rights to any assets you use (images, music, logos).
Mint your NFT
“Minting” is the process of uploading your artwork to the blockchain. Each marketplace guides you through this, but here is a common approach:
- Connect wallet: Open your chosen marketplace, click “Connect Wallet,” and confirm the connection via your wallet extension or mobile app.
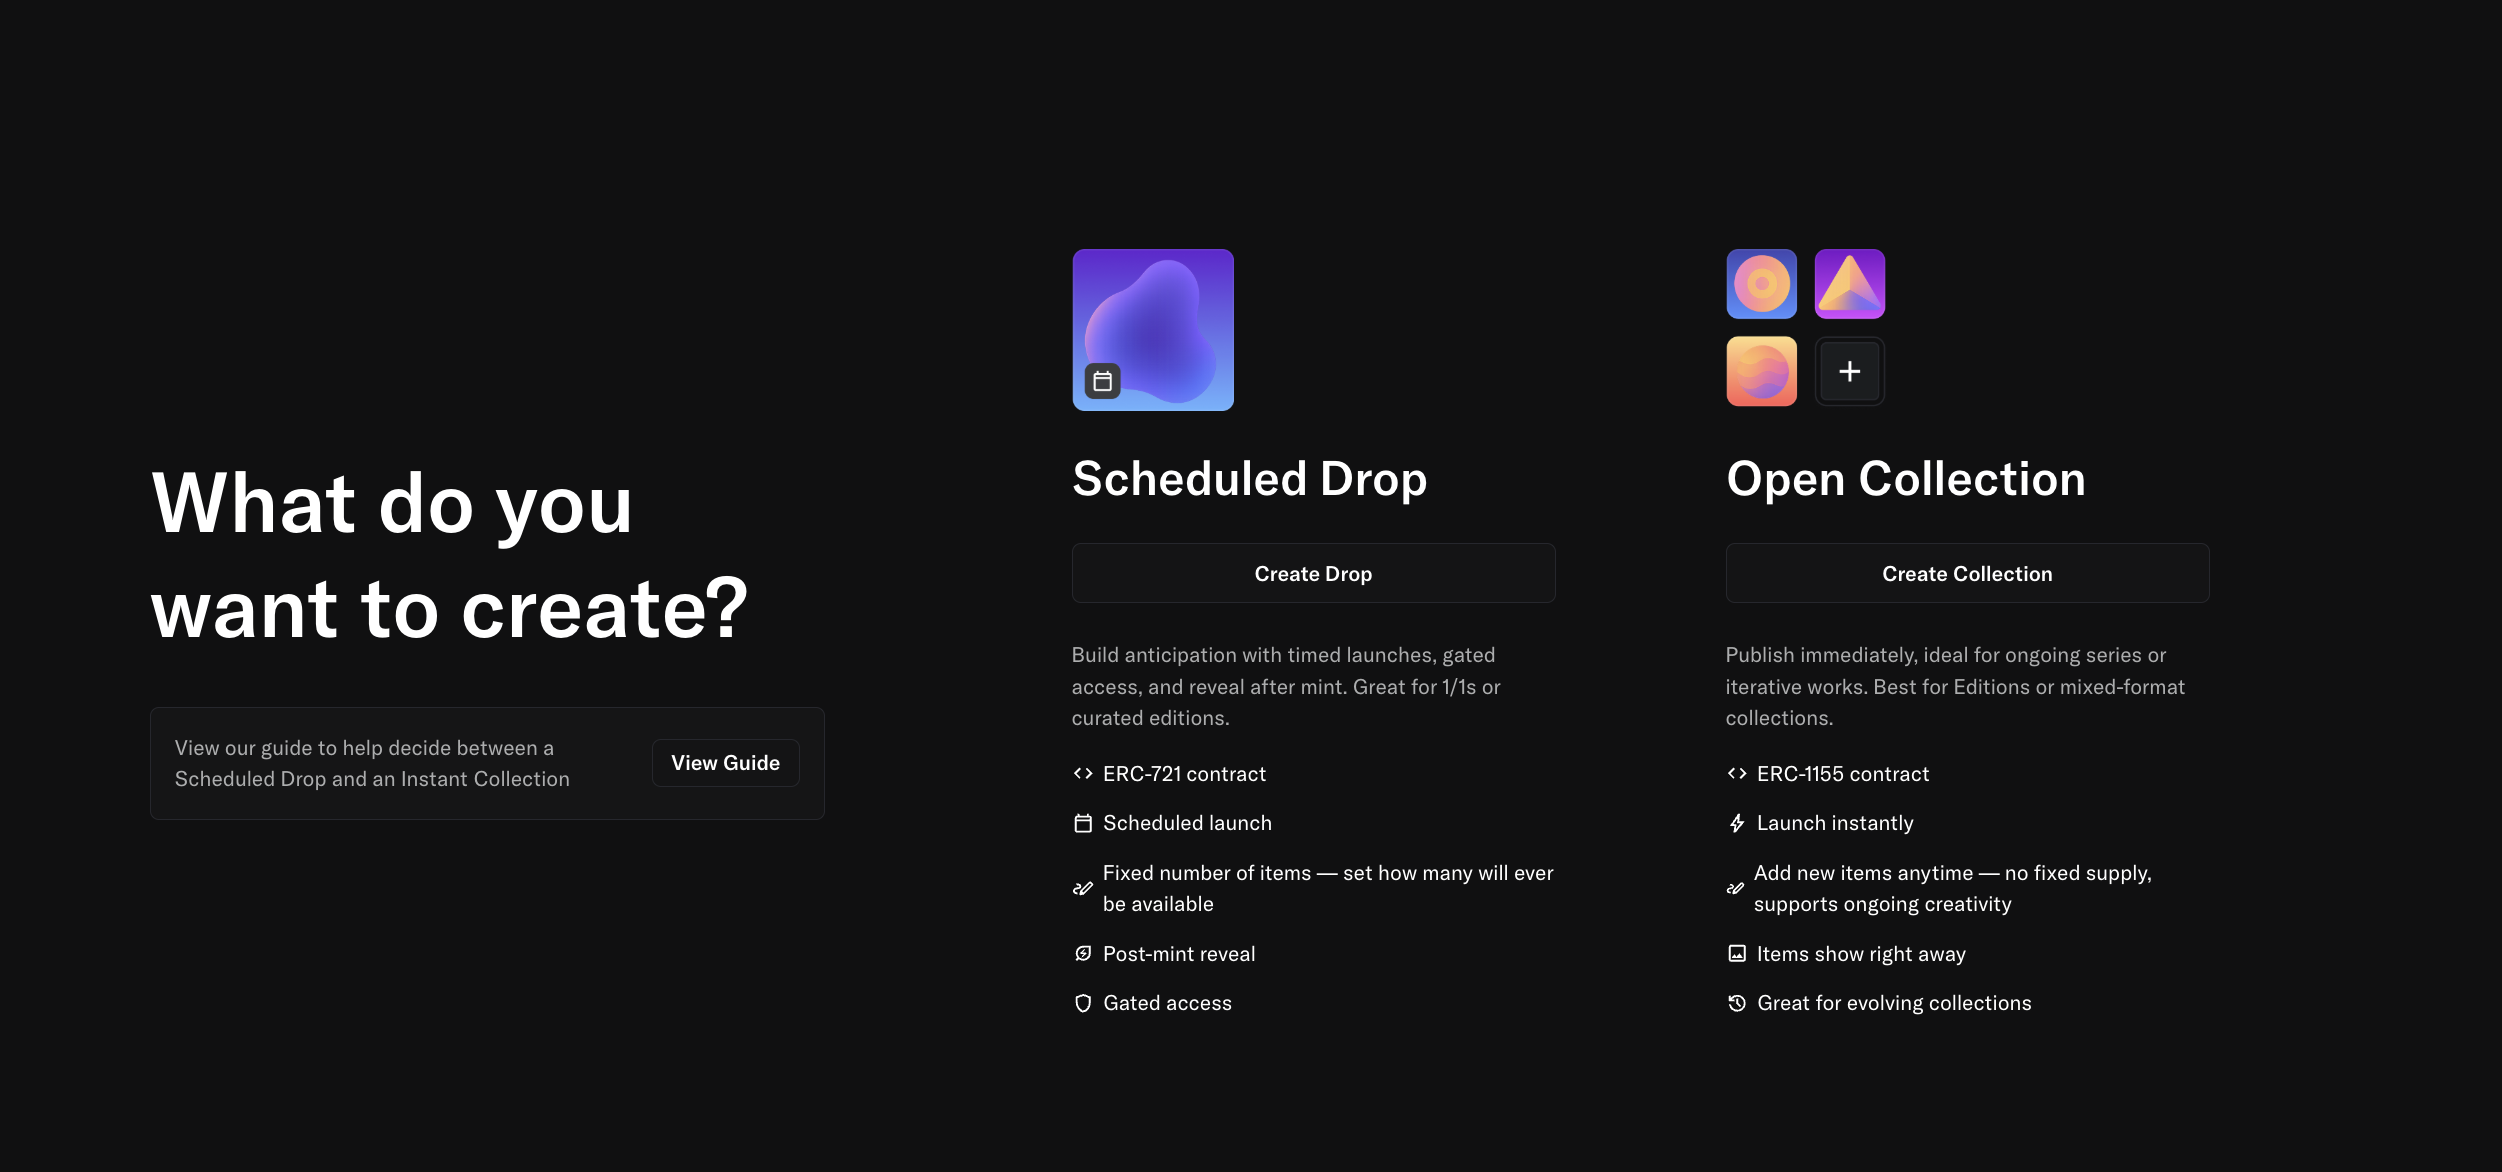
- Select “Create” or “Mint”: You will see an option to create a new NFT, typically in the marketplace’s main menu.
- Upload artwork: Choose the file you want to tokenize. Double-check that you selected the correct format (JPEG, PNG, GIF, MP4, etc.).
- Add details: Give your NFT a title, a description, and any special properties. Properties help collectors see if your piece has unique traits—like alternate color schemes or special music tracks.
- Minting options: Some platforms allow “lazy minting,” which can reduce your upfront costs by deferring gas fees to the buyer. However, this method may limit exposure if your NFT is hidden by default. If you pay the gas fee yourself, the NFT minting is finalized immediately and is publicly visible.
Once you complete these steps, the marketplace will request a transaction signature from your wallet. Pay the required fee, and wait a short time for blockchain confirmation. You have officially minted your NFT.
Configure listing details
Minting your NFT does not automatically put it up for sale. To invite buyers, you need to list it, typically on the same platform where you minted it:
- Choose fixed price or auction: Decide if you want a set price or an auction format. Auctions introduce a bidding war that might push up the final sale price, but you will not control the final amount.
- Set your price: If choosing a fixed price, it is wise to check similar artworks to see what the market might bear. If you price too high, you could scare off potential collectors—too low, and you leave money on the table.
- Customize your royalties: Many marketplaces let you pick a royalty percentage for secondary sales. When the NFT changes hands in the future, you will earn a portion of each transaction. Common royalty rates range from 5% to 10%.
- Confirm your listing: Once everything looks good, finalize the listing by signing another transaction using your wallet.
At this stage, your NFT is visible to potential buyers. Typically, any collector with a compatible wallet can place a bid or pay your set price to own the item.
Promote your NFT
With your masterpiece officially on the blockchain, next comes the step many creators overlook: actively promoting your NFT. “Mint it, and they will come” usually does not work—especially with the growing number of NFTs being listed each day.
Below are a few ways to share your NFT project:
- Social media outreach: Platforms like Twitter, Instagram, LinkedIn, or TikTok can help you share previews and behind-the-scenes stories.
- NFT communities: Reddit groups, Telegram channels, and Discord servers specifically cater to NFT enthusiasts. Engaging in these communities can attract collectors who appreciate your style.
- Collaborations: Team up with fellow creators or influencer campaigns to amplify your reach.
- Live events: Spaces like Clubhouse, Twitter Spaces, or Discord stages host NFT talks. Speaking at these events builds authenticity and trust.
Keep track of feedback along the way. If your piece is not attracting bids, you can adjust your price or increase your marketing efforts. It is also worth showing a genuine interest in the NFT community: collecting other artists’ pieces, participating in art drops, and sharing beneficial tips. Authentic engagement often leads to reciprocal support.
Five common FAQs
“Do I need to be a professional artist to create an NFT?”
Not at all. You can mint any digital piece you consider unique—photography, 3D models, even memes. The key is that it should be your original creation or you have the right to use it.“How much does it cost to mint an NFT?”
Costs fluctuate based on the blockchain you use. Ethereum gas fees can range widely (from a few dollars to over $100 at peak times). Platforms such as Polygon or Solana generally have lower fees. Some marketplaces also offer lazy minting to delay fees.“What if I want to change the file or metadata later?”
Some platforms allow you to edit metadata like description or title, but the core asset is often permanent once minted. If you need major changes, you might have to re-mint a new NFT. Always finalize your details before you mint.“Can I swap crypto after creating my NFT?”
Yes. If you hold different tokens or want to convert them, xgram and similar exchanges let you trade your crypto. Just remember that you will still need the native token of your chosen blockchain for ongoing costs, such as listing fees or transferring ownership.“How do royalties work?”
If you set a 5–10% royalty, you earn that percentage each time your NFT is resold. The blockchain automatically directs this cut to your wallet. It is a powerful way to earn passive income from future secondary market transactions.
Take next steps
Congratulations—you now have a clear roadmap for how to create an NFT, from setting up your wallet to listing your final piece. If you are ready to dive in:
- Find a platform that suits your artistic style or brand.
- Gather your creative materials, finalize your concept, and ensure your file meets quality standards.
- Acquire the necessary crypto tokens to handle fees and confirm your blockchain choice.
- Mint your piece and share it with a community that appreciates your work.
It is perfectly normal to feel a mix of excitement and nerves, especially when putting your art on a worldwide stage. Good news—this next step is one of the most empowering leaps you can take in the digital creative landscape. You control how many NFTs you release, decide your price, and chart your own path in the Web3 world. So go ahead, bring that bold concept to life, and see where your NFT journey takes you. You have all you need to begin.
Private crypto swaps
Best rates. Secure. Wallet to wallet